Particle.IO
What are we doing?
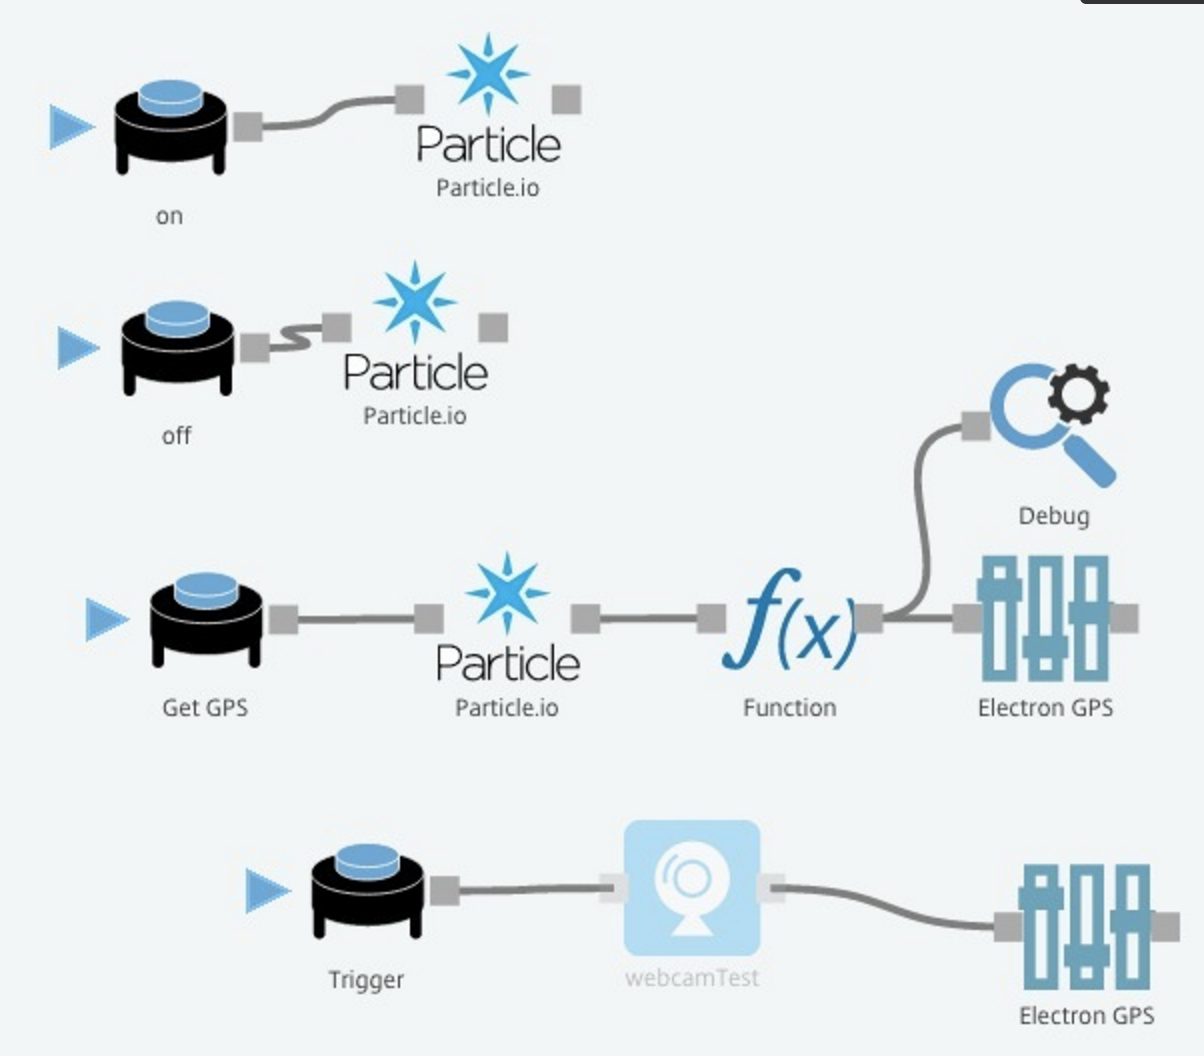
NOTE: This guide was updated, the Particle.IO API is now natively supported in Octoblu, this will work with any Particle.io product!
The Particle Photon is a wonderful $20 WiFi enabled Arduino board. It has a cloud based coding environment that lets you push Arduino firmware to it over the web.
Particle has a nifty API built in to their firmware editor that lets you expose functions as REST endpoints, meaning we can easily trigger them over the web.
If you put "Particle.function("test_function", test_function); " in your Setup function, then you can now use REST to control that function.
Example via a terminal:
curl https://api.particle.io/v1/devices/{{coreID}}/test_function \
  -d access_token={{access_token}} \
  -d params=on
This tutorial will go over getting your photon set-up and controllable through app.octoblu.com
Import & Configure the Octoblu Flow
1. Sign up for an app.octoblu.com account and familiarize yourself with the demo flow if you already haven't. Getting Started with Octoblu
2. Retrieve your coreID (also called Device ID) and access_token from build.particle.io
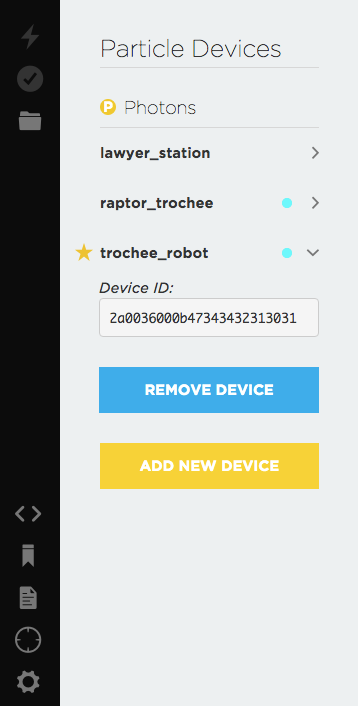
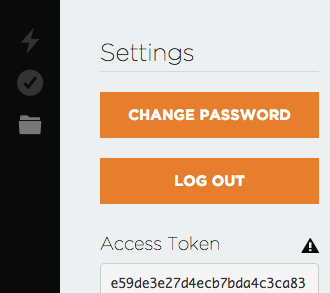
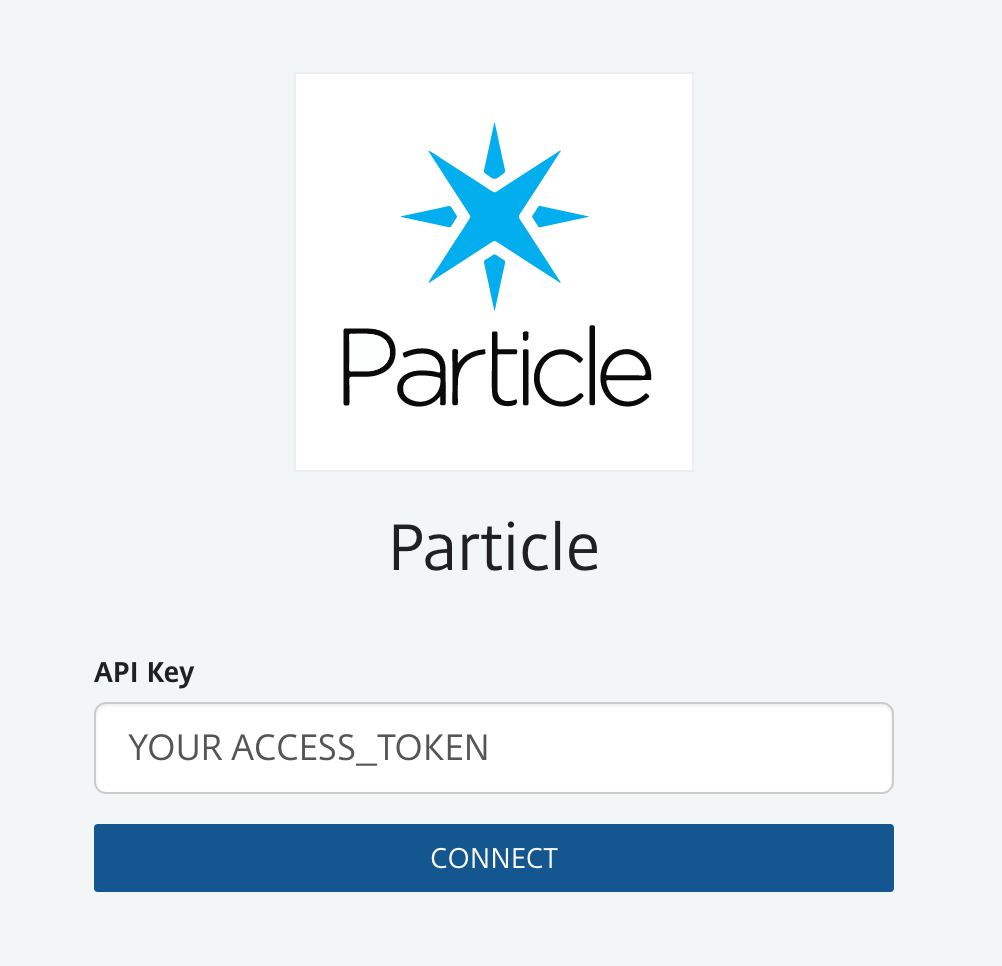
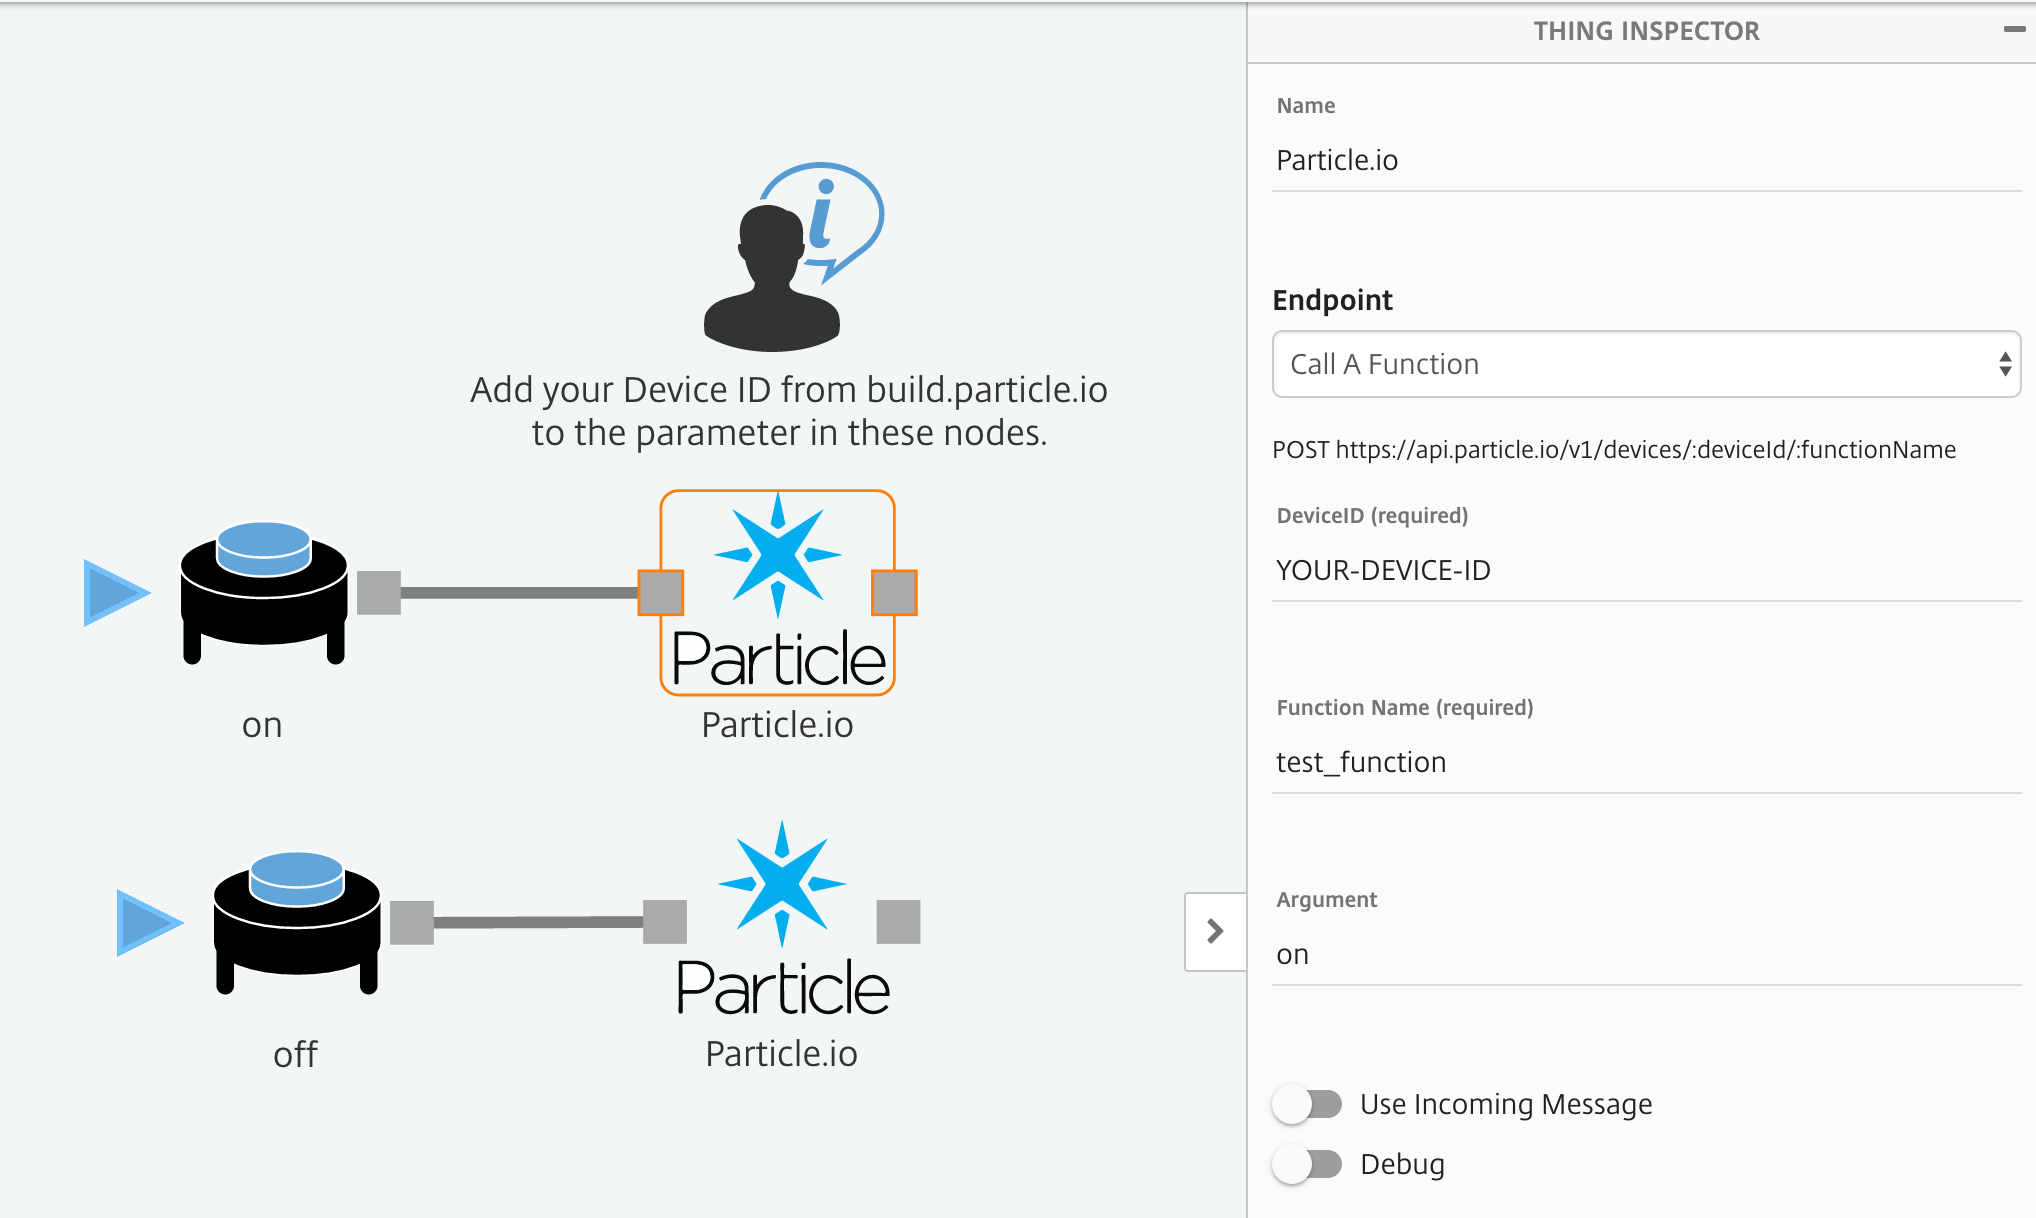
4. Import and Configure the Sample Flow with your Device ID
https://app.octoblu.com/bluprints/import/b97677a6-f1ef-4be3-8e16-5c1f6aab072f
Deploy!
5. Once the flow is deployed, click the trigger named "on" , the onboard LED of the Photon should turn on. Likewise, if you click the "off" trigger it turns off.
But how!?
The value we set in the Particle.IO channel nodes is the string that will be passed to your Photon's function - where it looks for string commands as such:
int test_function(String command){
    if(command == "on"){
        digitalWrite(led, HIGH);
    }else if(command == "off"){
        digitalWrite(led, LOW);
    }
}
Set-Up Photon and Flash Firmware
-
Follow the Particle Getting Started Guide
-
Once your Photon is connected go to build.particle.io and login with the credentials you made during set-up
-
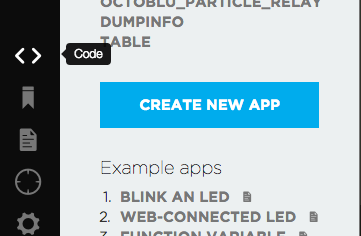
Click "Create New App" in the code section "< >"
- Copy this code to your new app (firmware)
int led = D7; // use D7 to control the onboard LED


void setup() {
  pinMode(led, OUTPUT);
  Particle.function("test_function", test_function);
}

void loop() {
}

// The function exposed in the spark API

int test_function(String command){

    if(command == "on"){
        digitalWrite(led, HIGH);
    }else if(command == "off"){
        digitalWrite(led, LOW);
    }

}
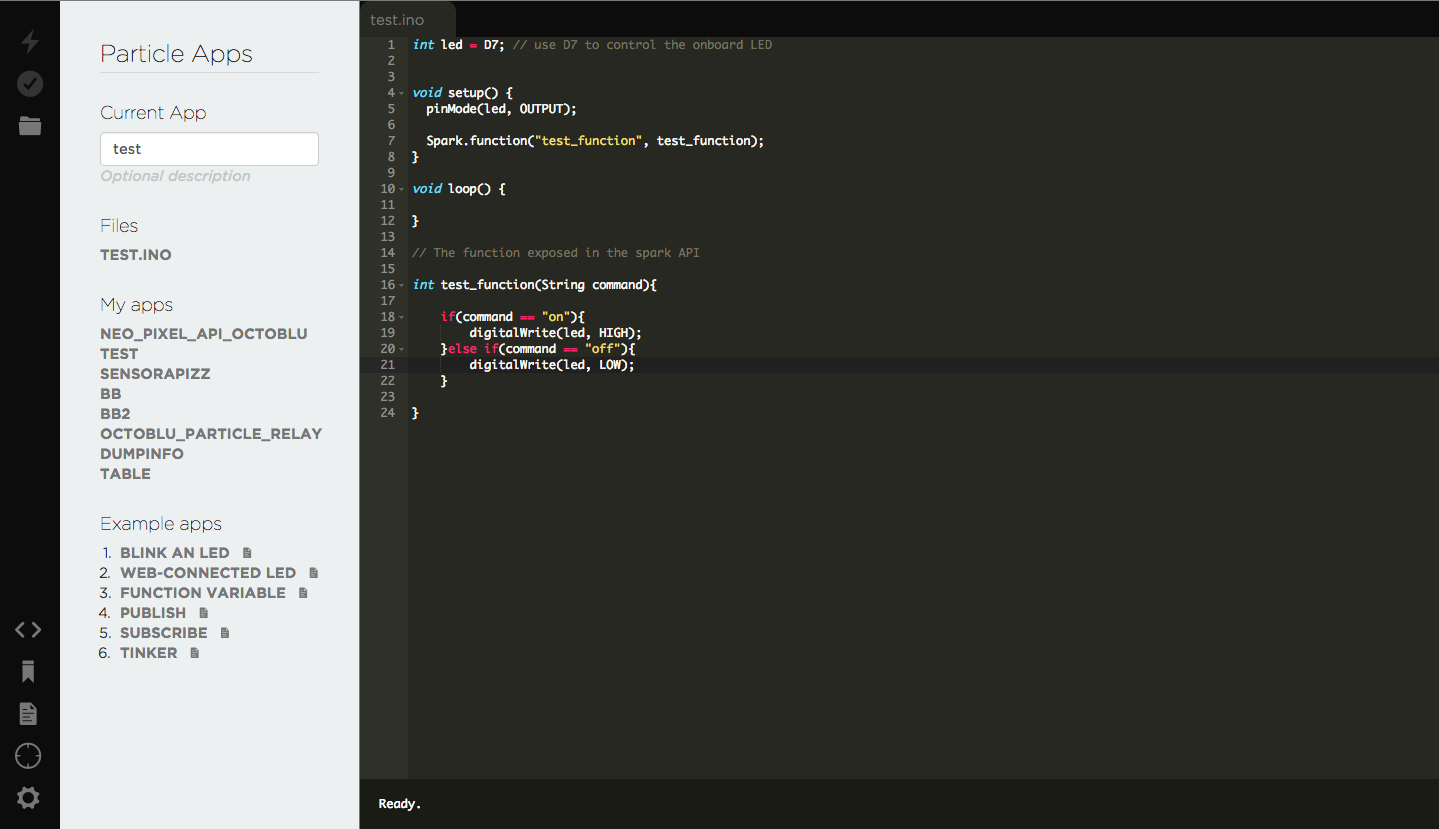
- Click the Lightning Bolt icon to flash your firmware. Note: Your Photon needs to be connected to wifi for this to work.
- Your Photon will flash purple for awhile, this means its receiving firmware. When it stops it means you're done with this part!
ADAVANCED: Send Messages TO Octoblu from the Photon
You can register webhooks as events with the Particle Spark API using the Particle CLI.
To get the Particle CLI set up go here.
If you create a JSON file called hook.json with this..
{
    "event": "some_event_name",
    "url": "https://triggers.octoblu.com/flows/yourTriggerWebHook",
    "requestType": "POST",
    "json": {
        "data": "{{SPARK_EVENT_VALUE}}"
    },
    "mydevices": true
}
Then in the terminal type this ..
particle webhook create hook.json
Add this in your Particle Photon firmware...
Spark.publish("some_event_name", String("hello world!"));
You can now send data to a trigger in Octoblu whenever you please!
This enables you to create complex electronics projects with the added benefit of simple two-way communication between Octoblu and your Photon. Add this to existing code and now your boring old IoT-less project has access to all the things!
For general codeless IO programming try The Tentacle which lets you configure pins remotely. Think of it like the tinker app but for Octoblu!
Updated less than a minute ago
